In this tutorial, you will learn how to deploy a smart contract written in Solidity language to the real Ethereum test network using web3.js.
Let's assume we have the simplest smart contract called Storage.
pragma solidity ^0.8.9;

contract Storage {
    string public message;

    constructor(string _message) public {
        message = _message;
    }

    function setMessage(string newMessage) public {
        message = newMessage;
    }

    function getMessage() public view returns (string) {
        return message;
    }
}
First, start a new node project: npm init. To compile the contract we need to install a node package called solc. In order to connect to the network install the following packages:
@truffle/hdwallet-provider and web3. So our package.json file looks like this:
{
  "name": "Storage",
  "version": "1.0.0",
  "description": "",
  "main": "index.js",
  "scripts": {
    "test": "your test command"
  },
  "author": "",
  "license": "ISC",
  "dependencies": {
    "@truffle/hdwallet-provider": "^2.0.1",
    "solc": "^0.8.9",
    "web3": "^1.6.0"
  }
}
Compile the smart contract
Add a new file and call it compile.js. Paster there the next snippet of code:
const path = require('path');
const fs = require('fs');
const solc = require('solc');

const contractPath = path.resolve(__dirname, 'contracts', 'Storage.sol');
const source = fs.readFileSync(contractPath, 'utf8');

module.exports = solc.compile(source, 1).contracts[':Storage'];
Deploy the smart contract with web3
Create a new file with the following content. Name it deploy.js:
const HDWalletProvider = require('@truffle/hdwallet-provider');
const Web3 = require('web3');
const { interface, bytecode } = require('./compile');
const provider = new HDWalletProvider(
'YOUR SECRET PHRASES',
'RINKEBY INFURA ENDPOINT'
);
const web3 = new Web3(provider);
const deployContract = async () => {
const accounts = await web3.eth.getAccounts();
console.log('Attempting to deploy from account', accounts[0]);
const contract = await new web3.eth.Contract(JSON.parse(interface))
.deploy({ data: bytecode, arguments: ['Hello World!'] })
.send({ gas: '10000000', from: accounts[0] });
console.log('Contract deployed to', contract.options.address);
provider.engine.stop();
}
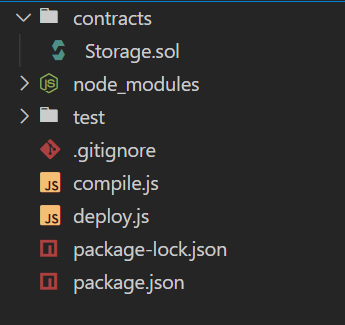
deployContract();Now, the project directory looks like this:
To deploy the contract into the blockchain, we need to create and send a transaction to the network with the following fields:
- From: our account
- To: field should be empty
- data: contract's compiled bytecode
- value (optional): money in Wei
- gas price
- gas price/gas limit
First, we import HDWalletProvider from @truffle/hdwallet-provider, web3, our contract's compiled bytecode and its ABI.
HDWalletProvider is used to unlock accounts via wallet secret phrases. Also, it tells the web3 library what network to connect to. In this example, we deploy our contract into the Rinkeby test network. To send any transaction or call to the blockchain network, we need to connect to one of the network nodes. There are two options to do it:
- Host your own blockchain Ethereum node and send transactions to it
- Use public free services like Infura, which has running nodes in the network.
In our case, we use the second option. Sign up on infura.io and create a brand new project. Choose RINKEBY or any desired test network from the ENDPOINTS dropdown and copy the first URL which starts with https://, replace RINKEBY INFURA ENDPOINT with your version of endpoint.

Next, we initialize our web3 instance with configured provider object. As web3 library functions are asynchronous, we wrap the function calls inside an async function deployContract in order to use async/await syntax.
Our contract constructor receives one parameter _message, so that argument 'Hello World!' is passed in the list.
.deploy({ data: bytecode, arguments: ['Hello World!'] })After deployment is completed successfully, the address of the deployed contract instance can be fetched by: contract.options.address
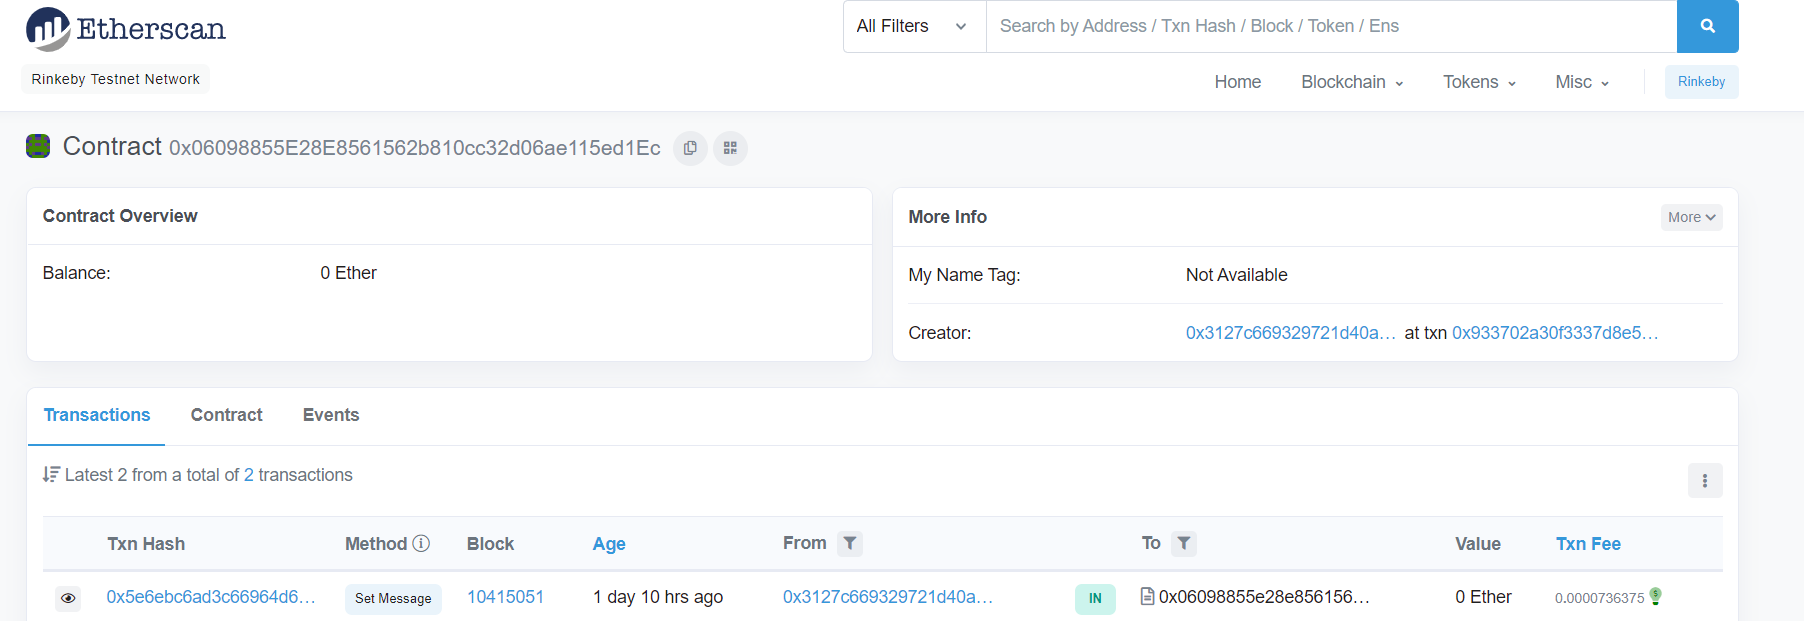
Eventually, in the terminal run command node deploy.js and prints the address of the deployed contract in the Rinkeby test network. In my case, deployed contract address is 0x06098855E28E8561562b810cc32d06ae115ed1Ec
You can easily search and view your deployed contract on https://rinkeby.etherscan.io/ by contract address.